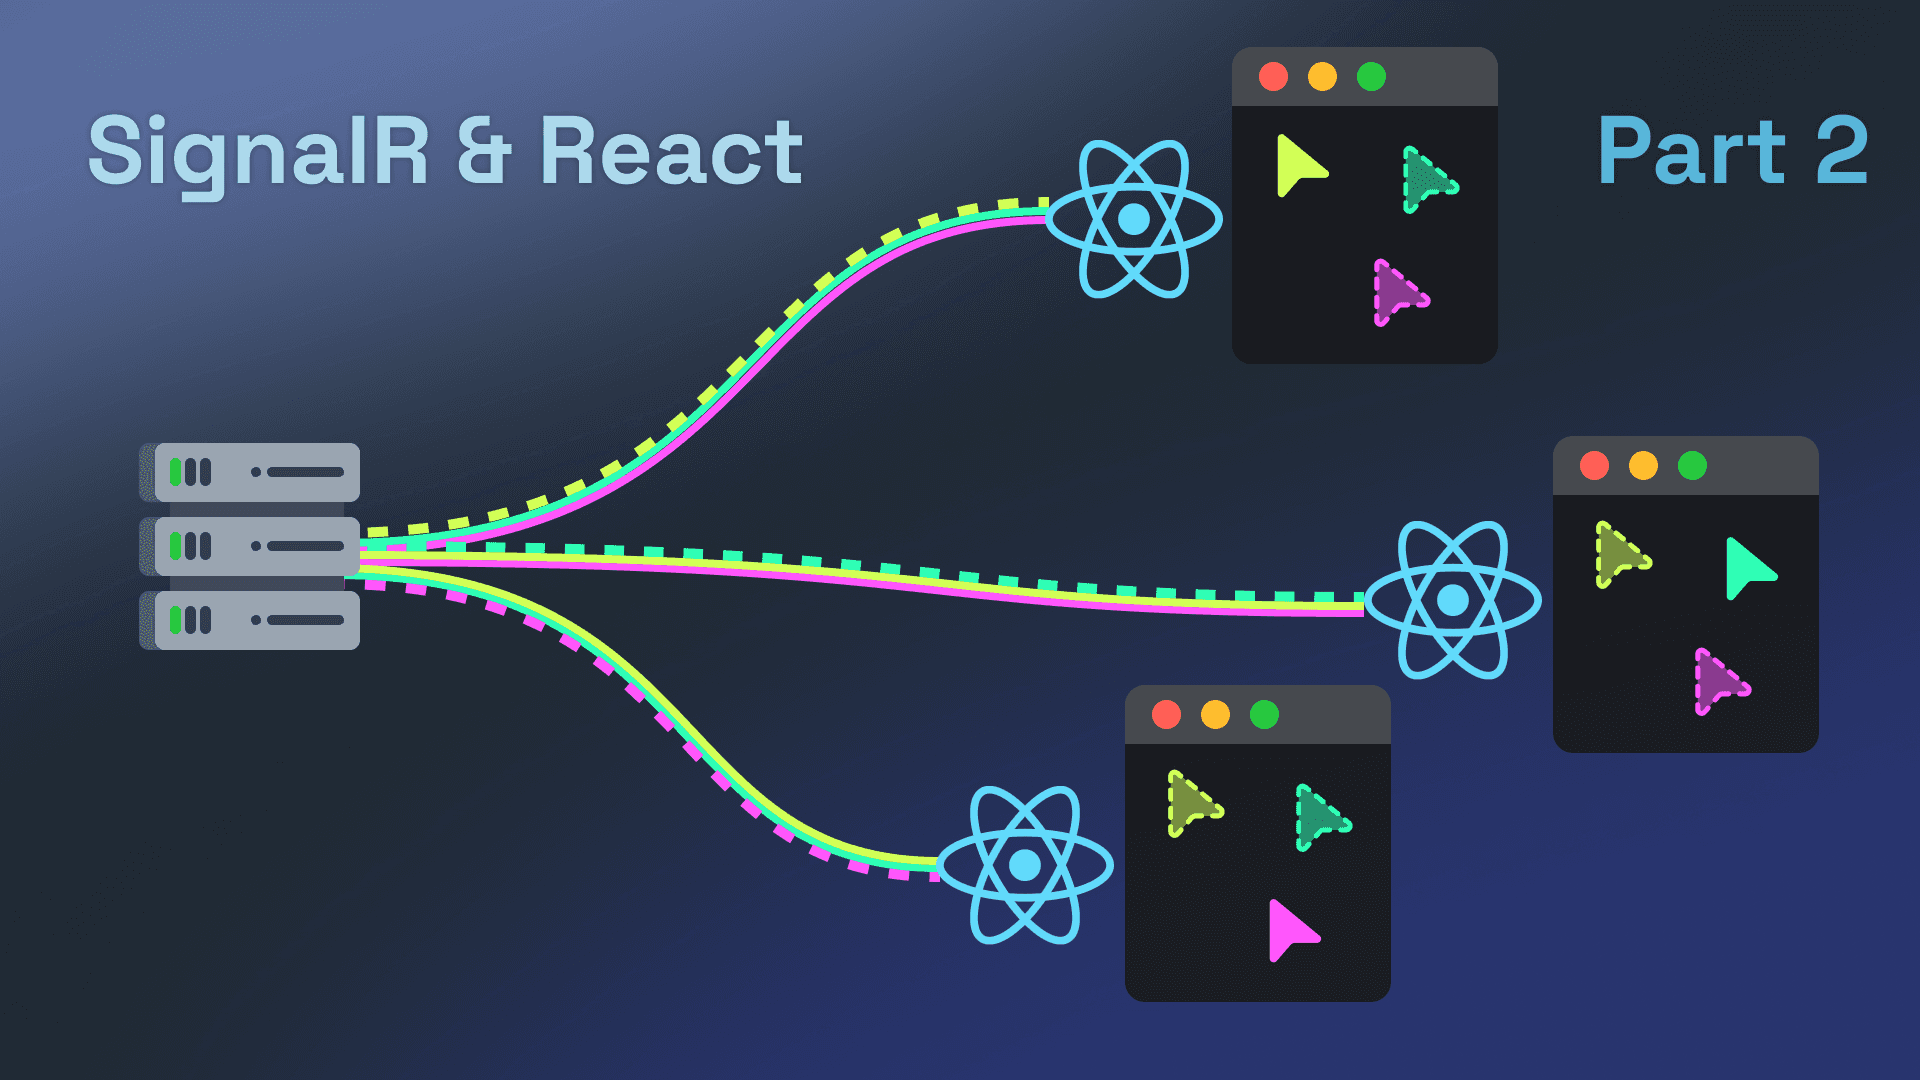
Sync React with SignalR Events
In the previous article, we set up a SignalR hub for real-time cursor tracking in .NET. Now, we’ll integrate SignalR into a React app and manage the real-time cursor data within the React lifecycle.
Microsoft already does a great job explaining how to use the SignalR JavaScript client here, so I won’t rehash MSDN. Instead, we’ll focus on integrating SignalR into React's lifecycle.
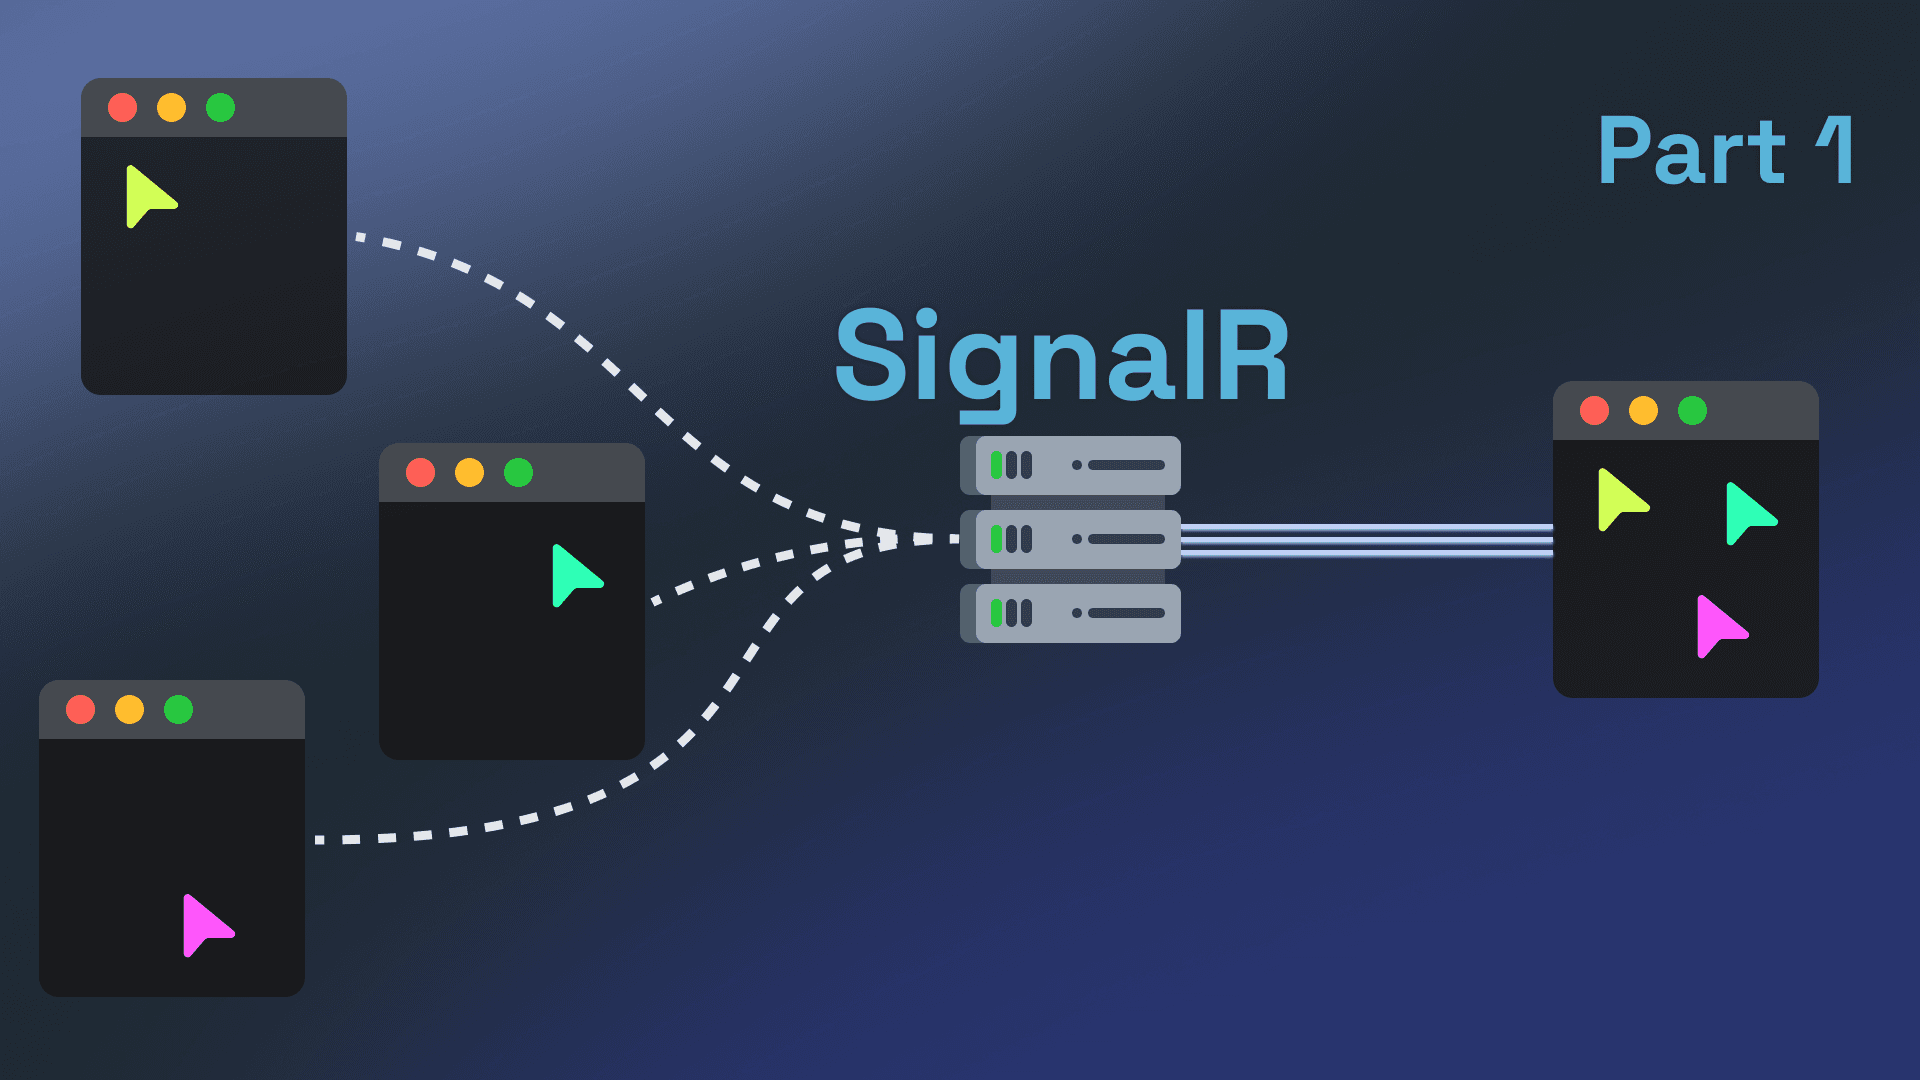
This article is part of my series “Realtime webapps with SignalR and React".
- Realtime Cursor Tracking with .NET and React using SignalR.
- Sync React with SignalR Events (You are here).
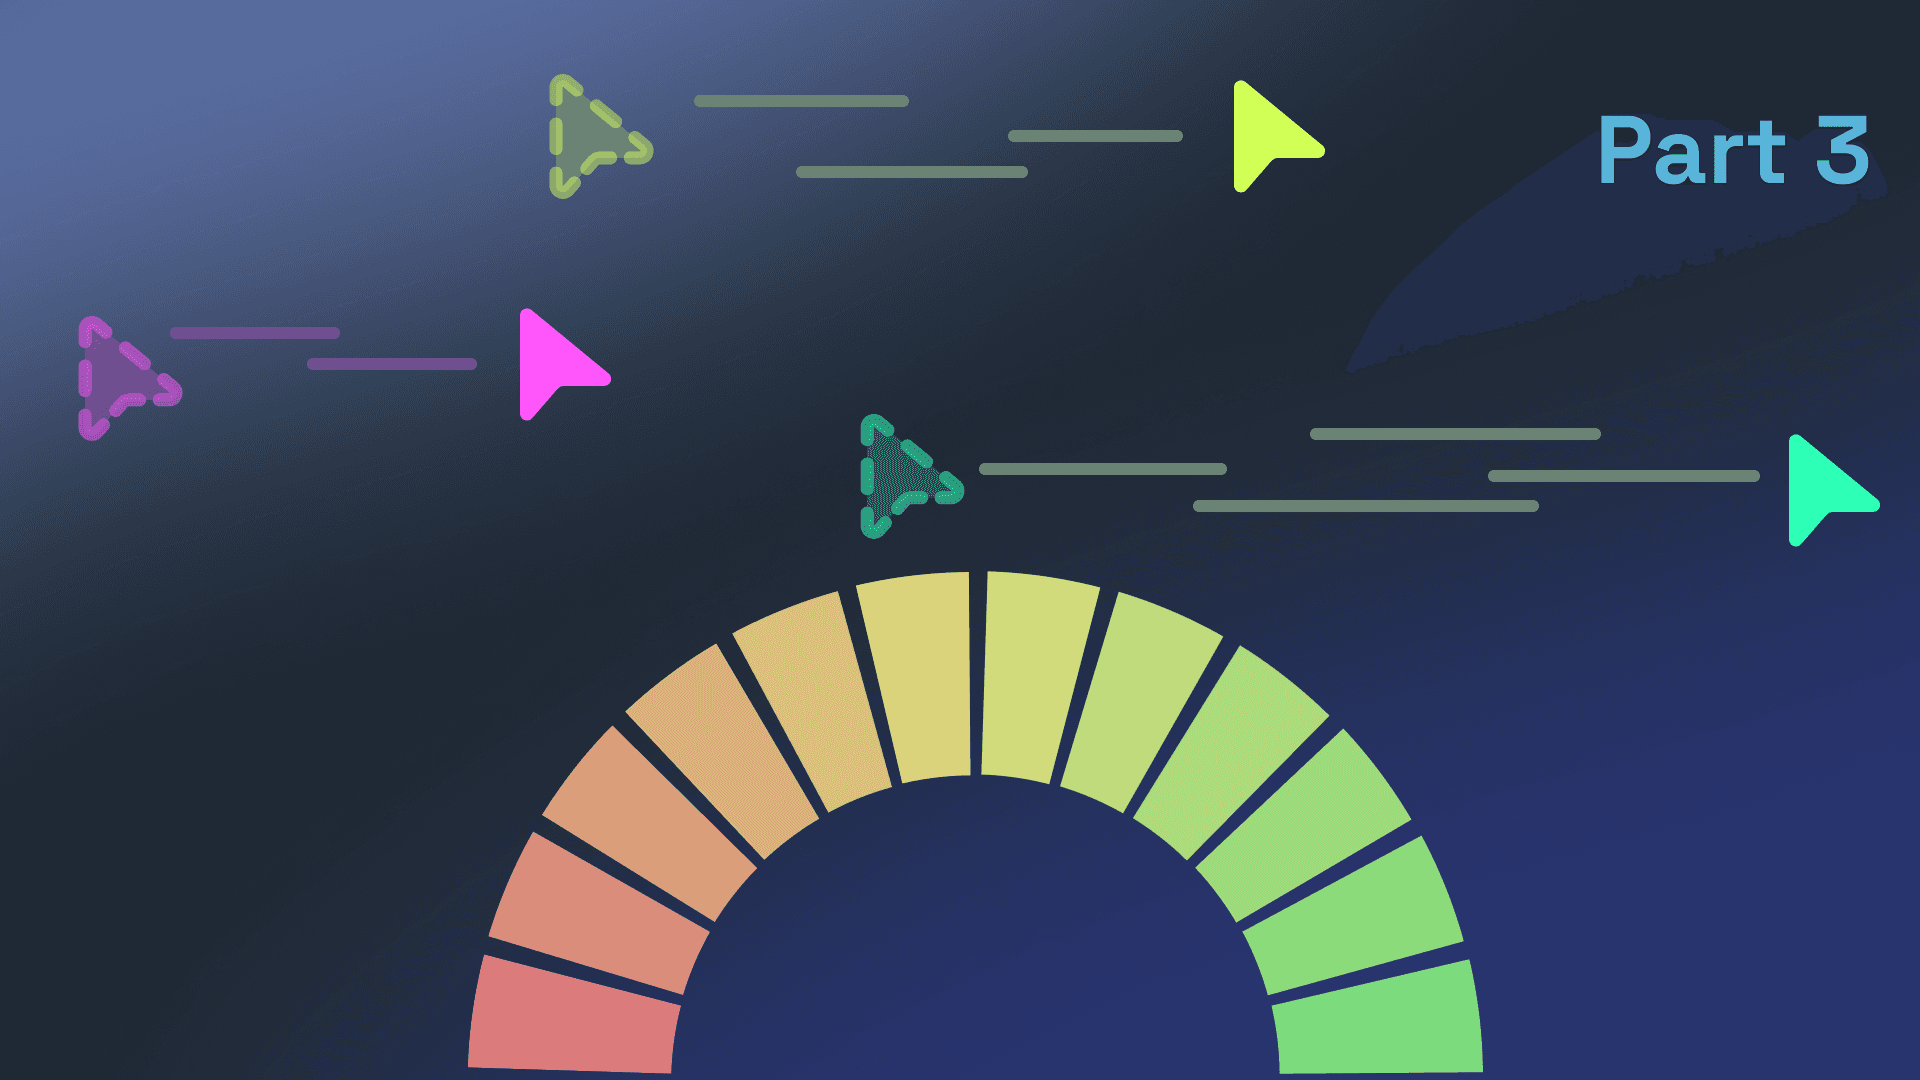
- Improve Signalr and React Performance User Experience.
The Plan: Connecting React to SignalR Hub
Before diving into the code, let’s go over some important considerations when implementing this. We want to keep our solution performant, maintainable, and reusable for future real-time features.
Our solution will include:
- A
RealtimeCursorContext: This context will centralize all logic and state, avoiding prop drilling. We’ll wrap it around the root or page component to ensure the connection is only created once where it’s needed. - Broadcasting our cursor position: We’ll capture and broadcast the cursor’s position using a custom hook. Hooks are perfect for isolating logic, and by including this in our context, we ensure that every time we use real-time cursor features, our own cursor is broadcasted.
- State management: The events received from the SignalR hub will be consolidated into an array containing all up-to-date connected cursors. Our context will manage this array and the SignalR connection.
Centralized Connection Management
Let’s start by connecting to the SignalR Hub. Since the RealtimeCursorContext will handle the connection, it makes the most sense to manage it inside a custom context provider.
I like to structure React Context into three parts (usually in the same file for readability):
- The context itself, which we won’t export to prevent misue.
- A custom Context Provider to centralize all logic.
- A custom hook for added clarity and custom logic when needed.
A custom context provider is just a React component that wraps its children with the context provider, which is perfect for managing the context state.
Let’s start with the context itself:
1type RealtimeCursorContextType = {2connection: HubConnection | null;3};45const RealtimeCursorContext =6React.createContext<RealtimeCursorContextType | null>(null);
Next, we’ll create our custom useContext hook, useRealtimeCursor, which throws an error if used outside a RealtimeCursorContext:
1export function useRealtimeCursor() {2const context = React.useContext(RealtimeCursorContext);3if (!context) {4throw new Error(5"useRealtimeCursor must be used within a RealtimeCursorProvider"6);7}8return context;9}
Finally, we’ll create the custom provider. We’ll use the useEffect hook to connect when the provider mounts and disconnect when it unmounts:
1type RealtimeCursorProviderProps = {2children: React.ReactNode;3};45export function RealtimeCursorProvider({6children,7}: RealtimeCursorProviderProps) {8const [connection, setConnection] = React.useState<HubConnection | null>();910React.useEffect(() => {11const newConnection = new HubConnectionBuilder()12.withUrl("https://localhost:7081/cursor")13.withAutomaticReconnect()14.build();1516async function start() {17try {18await newConnection.start();19setConnection(newConnection);20} catch (err) {21setTimeout(start, 5000);22}23}2425start();26return () => newConnection.stop(); //Close the connection when the provider unmounts27}, []);2829return (30<RealtimeCursorContext.Provider value={{ connection }}>31{children}32</RealtimeCursorContext.Provider>33);34}
Next, we’ll wrap our App component with the RealtimeCursorProvider:
1//main.ts2ReactDOM.createRoot(document.getElementById("root")!).render(3<RealtimeCursorProvider>4<App />5</RealtimeCursorProvider>6);
Now we can access the connection in any component like this:
1import { useRealtimeCursor } from "./RealtimeCursorContext";23function SomeComponent() {4const { connection } = useRealtimeCursor();5// ...the rest of the component6}
By using this context, we have a centralized way to manage our SignalR connection, avoiding prop drilling and separating connection logic from UI logic. It’s much better than mixing SignalR logic directly into the root component!
Implementing Cursor Tracking in React
Next, we’ll use a custom hook in RealtimeCursorProvider to track the user’s cursor and broadcast its position. This keeps all our cursor logic in a single component, following the Single Responsibility Principle.
The custom hook, useUpdateCursorLocation, is a simple wrapper around a useEffect hook that registers a mousemove event listener whenever the connection changes:
1export function useUpdateCursorLocation(connection: HubConnection | null) {2React.useEffect(() => {3const updateCursorPosition = (ev: MouseEvent) => {4const x = ev.clientX;5const y = ev.clientY;6if (connection?.state !== "Connected") {7return;8}9connection?.send("UpdateCursorPosition", x, y);10};1112window.addEventListener("mousemove", updateCursorPosition);13return () => {14window.removeEventListener("mousemove", updateCursorPosition);15};16}, [connection]);17}
We can add this hook to our RealtimeCursorProvider to ensure that we’re always tracking and broadcasting the cursor position when required.
Keeping track of the other cursors
For other cursors, the hub we created in the previous article doesn’t provide a list of up-to-date cursors. Instead, it emits events that we can use to construct that list ourselves.
We’ll co-locate this logic inside our context, so our context not only returns the connection but also an updated list of other cursors.
This time, instead of reaching for useState again, we’ll use useReducer. useReducer is specifically meant for complex state logic with action-based updates. Instead of modifying a single useState inside all the different SignalR event listeners, we can create a reduce function that allows us to map each event to a state transition.
First we’ll have to create our reducer. A reducer accepts two parameters: the current state and the action we want to apply to our state. The return value from our reducer will be the newly updated state.
1function cursorReducer(state: OtherCursor[], action: ReducerActionType) {2switch (action.type) {3case "start":4return action.payload;5case "add":6return [...state, action.payload];7case "remove":8return state.filter(9(cursor) => cursor.connectionId !== action.connectionId10);11case "update":12return state.map((cursor) =>13cursor.connectionId === action.connectionId14? { ...cursor, x: action.x, y: action.y }15: cursor16);17default:18return state;19}20}
Now, we’ll wire this up to the SignalR events in a custom hook. I like to keep everything granular and follow the Single Responsibility Principle:
1function useCursorData(connection: HubConnection | null) {2const [cursorData, dispatch] = React.useReducer(cursorReducer, []);34React.useEffect(() => {5// We don't need to check the connection state6// since registering event listeners doesn't require a connected connection7if (!connection) {8return;9}10connection.on(11"CursorPositionUpdated",12(connectionId: string, x: number, y: number) =>13dispatch({ type: "update", connectionId, x, y })14);15connection.on("CursorConnected", (Cursor: OtherCursor) =>16dispatch({ type: "add", payload: Cursor })17);18connection.on("ConnectionEstablished", (mice: OtherCursor[]) =>19dispatch({ type: "start", payload: mice })20);21connection.on("CursorDisconnected", (connectionId: string) => {22dispatch({ type: "remove", connectionId });23});24}, [connection]);2526return cursorData;27}
This setup provides a clear separation between the events we listen to and the state transitions. The result is code that’s easier to maintain. The last step is to hook it up to our context.
Displaying the other cursors
With state management in place, displaying the other cursors is straightforward.
We only need two components: one for the HTML and CSS to show a cursor, and another to wire up the state and display a cursor for each connected client.
A simple cursor might look like this:
1export function OtherCursor({ color, name, x, y }: OtherCursorProps) {2return (3<div style={{ background: color, position: "absolute", left: x, top: y }}>4<div>{name}</div>5</div>6);7}
And we can wire it up like this:
1export function OtherCursors() {2const { otherCursors } = useRealtimeCursor();3return (4<>5{otherCursors.map((cursor) => (6<OtherCursor7key={cursor.connectionId}8// We can spread the cursor since the9// component props and object properties overlap10{...cursor}11/>12))}13</>14);15}
Now you can use <OtherCursors> wherever you want to display the real-time cursors of others on your site! But before you go off to create awesome new websites, check out the next section where we’ll tackle performance and user experience issues!
Conclusion
With SignalR integrated into your React app, you now have a solid foundation for any real-time functionality.
By centralizing connection and state management in a single context, we’ve made our code more maintainable. Any additional features are easily added since we separated the state update logic into clear action-based updates with our reducer.
As your app grows, this setup will allow you to handle real-time data sources efficiently.
In the next article, we’ll introduce mouse event debouncing. Handling updates from hundreds of users 60 times per second isn’t ideal for production, and we’ll also address the user experience impact of debouncing. See you in the next one!
What to read next:
I really hope you enjoyed this article. If you did, you might want to check out some of these articles I've written on similar topics.
- Read Improve Signalr and React Performance User Experience
 — 5 min read readImprove Signalr and React Performance User Experience
 - Read .NET Aspire & Next.js: The Dev Experience You Were Missing
 — 7 min read read.NET Aspire & Next.js: The Dev Experience You Were Missing
 - Read Realtime Cursor Tracking with .NET and React using SignalR
 — 8 min read readRealtime Cursor Tracking with .NET and React using SignalR